
Beehive splitting isn’t as complicated as it sounds. It’s all about taking one thriving colony and dividing it into two or more. This helps manage healthy bee populations and reduces the risk of swarming. Healthier bees mean more honey, and who doesn’t want that?
Keeping your bees from swarming is crucial. When bees swarm, you lose a chunk of your working force, and that’s not ideal. Splitting a hive on your own terms can help you maintain control. Not to mention, it’s a natural way to boost bee numbers without having to buy more bees.
Beehive splitting offers solid benefits, especially for beekeepers who want to expand their apiaries. Imagine getting more hives from the one you already have. It’s like getting two for the price of one. Plus, it’s kinder on your wallet. More importantly, it supports the bee population, which is essential for the environment.
One of the biggest perks is the health aspect. By splitting a hive, you can curb the spread of diseases and pests. Think of it like social distancing for bees. It keeps them healthy and thriving.
Beehive splitting also promotes genetic diversity. By allowing bees to create new queens, you introduce varied genetics into your apiary, making your bee population stronger and more resilient. That’s a win-win for you and your buzzing friends.
Beehive splitting is a fundamental skill for any beekeeper. It can make a world of difference in how you manage your colonies and set you up for long-term success.
Preparing for Beehive Splitting: Tools and Timing
Having the right tools and timing is half the battle won. Before splitting your hive, ensure you’ve got the essentials: a bee suit, a hive tool, frames, a new hive box, a smoker, and a bee brush. Don’t skimp on these—each one has a role to play.
Timing is crucial in beekeeping. Spring is usually the best time to split your hive. The bees are more active, and there’s an abundance of nectar and pollen to support the growing colonies. It’s also warm enough for the bees to thrive but not so hot that they become stressed.
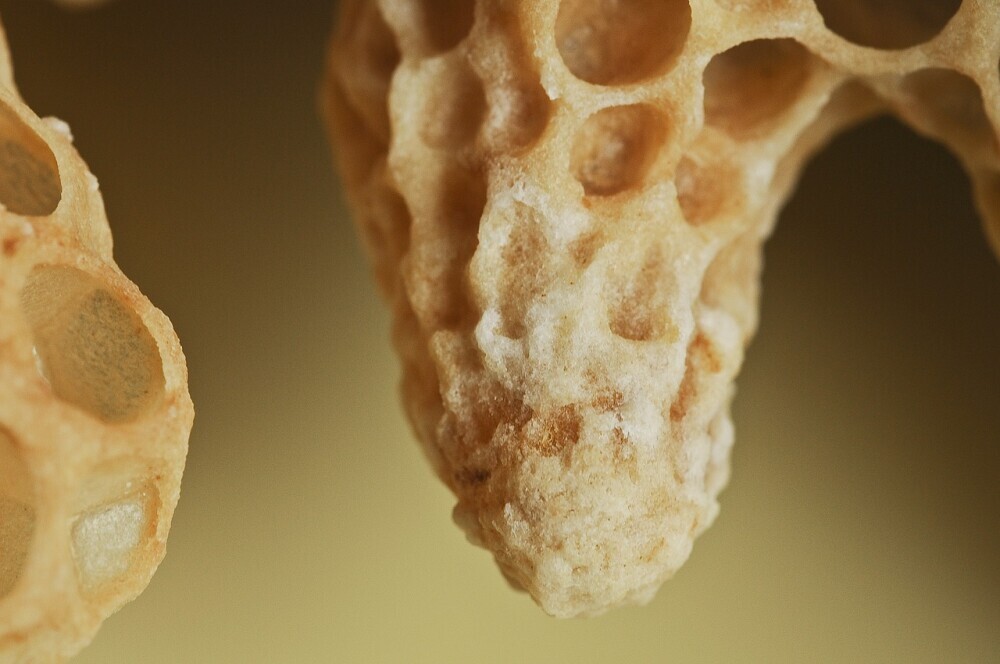
Inspecting the hive before splitting is a must. Look for signs of a healthy colony—plenty of bees, capped brood, and stored food. Strong colonies with a robust queen are the best candidates for splitting. If you notice diseases or pests, address those issues before considering a split.
Don’t ignore the queen cells. If your hive has queen cells, the bees are already prepping to swarm. This could be the perfect time to split the hive, as long as the new queens haven’t emerged yet. Timing it right ensures the split goes smoothly and both new hives have a strong start.
Choosing the right day is just as important. Aim for a calm, sunny day when the bees are busily foraging. This reduces stress on the hive during the split and makes the process easier for you. Avoid windy, rainy days as they can lead to agitated bees and a more chaotic experience.
Step-by-Step Guide to Splitting Your Beehive
If you’ve got your tools in check and timing sorted, it’s time to get your hands dirty. Follow this step-by-step guide to ensure a smooth split.
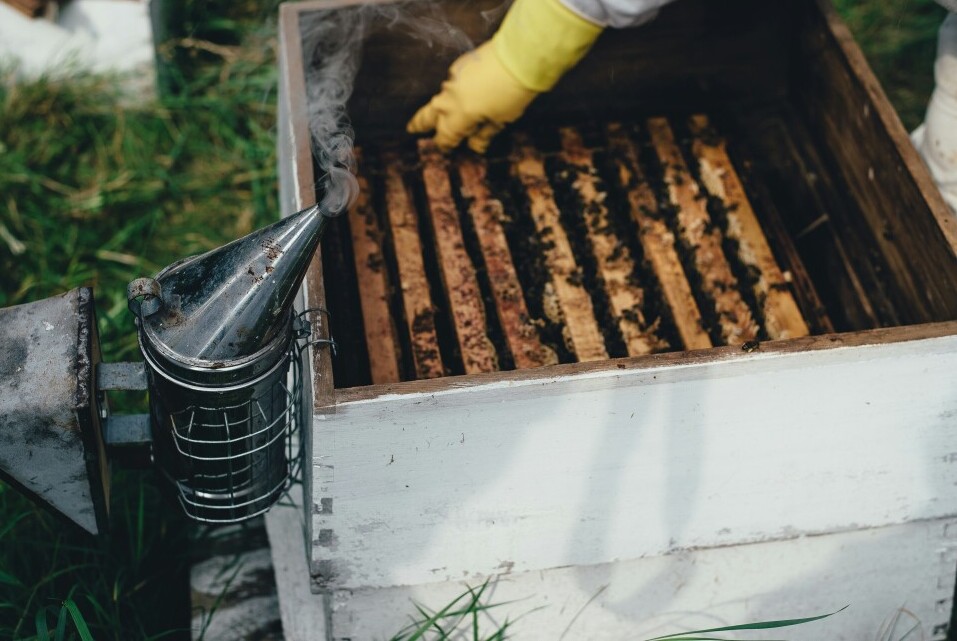
First, suit up for safety. Bees can get defensive when their hive is disturbed, so a good bee suit is non-negotiable. Fire up that smoker to calm them down. A few gentle puffs at the hive entrance should do the trick.
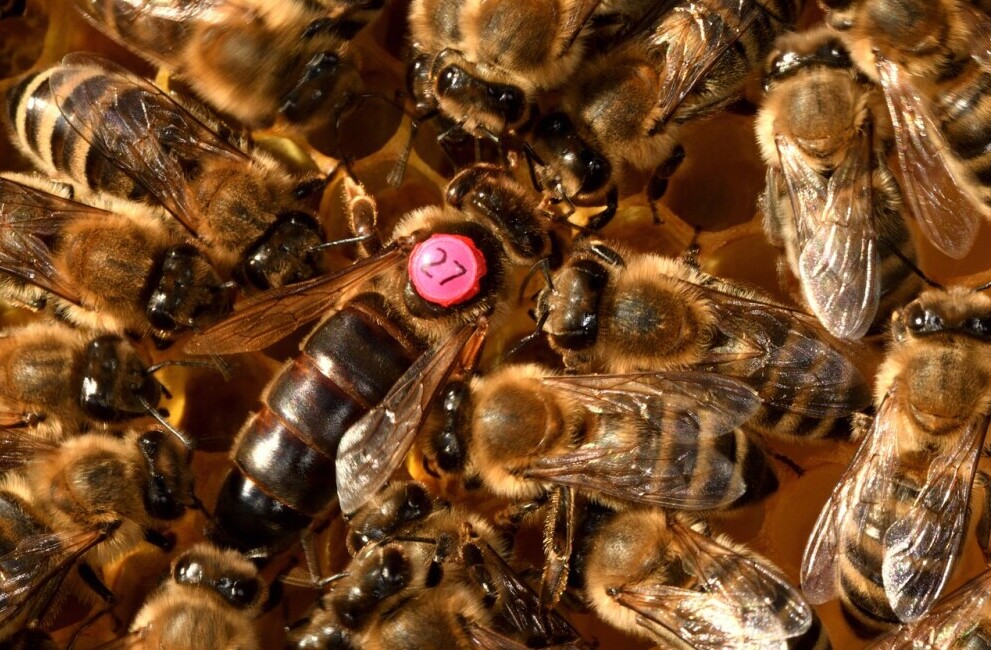
Gently open the hive and locate your queen. This part can be a bit tricky. If you spot her, make sure she stays in the original hive. You need the original hive to remain strong, and a healthy queen will ensure that happens.
Next, start transferring frames. Move half of the brood frames and some resources like honey and pollen into the new hive box. Make sure to keep everything balanced so both hives have enough to get by.
If you didn’t find the queen earlier, check the frames you transfer carefully. If she ends up in the new hive by mistake, you might end up with a queenless original hive, not ideal at all.
After transferring the frames, give the new hive some extra help. Add a frame with a queen cell or introduce a new queen if you have one. This will help the new colony get off to a strong start.
Reassemble both hives. Make sure everything is secure. Both hives should have a good balance of brood, bees, and food. Position them a fair distance apart, around three feet should work, to minimize confusion among foragers.
Keep an eye on the weather. A calm day is best for splitting, but if the weather takes a nasty turn, close everything up quickly and wait for a better day. Agitated bees and bad weather don’t mix well.
After everything’s said and done, sit back and watch them work. Check back in a week to ensure both colonies are thriving. Splitting isn’t a one-and-done deal; regular monitoring is key to success.
Keep in mind this is only one way of doing a split. There are a couple of other ways to split a beehive.
Caring for New and Original Hives Post-Splitting
After the split, both hives need your attention to thrive. First up, make sure the queens in both colonies are safe and healthy. Without a queen, your hive will struggle, and that’s a headache you don’t need. If one hive ends up queenless, introducing a new queen or a frame with eggs can save the day.
Feeding is crucial after a split. With limited foragers initially, providing sugar syrup can keep both colonies going until they can gather enough food on their own. Think of it as giving them a boost to get started. Don’t forget to place feeders in both hives.
Maintenance plays a big role. Regular inspections help catch problems early. Look out for signs of disease, pests, or anything unusual. A quick check every week or so can prevent minor issues from becoming major headaches.
Watch for successful signs. Both colonies should have steady brood growth, active foragers, and adequate food stores. These are green lights that your split worked. If something seems off, like dwindling bee numbers or lack of brood, it’s time to step in and troubleshoot.
Troubleshooting doesn’t mean panic. Calmly assess the situation. If pests are a problem, take measures like applying treatments. If food stores are low, supplement with more sugar syrup or protein patties. Each problem has a solution, and being proactive makes a world of difference.
Long-Term Considerations: Monitoring and Expansion
Regular inspections are key to keeping your bees healthy. Aim for weekly checks initially, then reduce to monthly once everything’s stable. Monitor for pests, diseases, and other abnormalities. Catching issues early can save you a lot of trouble down the line.
Scaling up is exciting but comes with its challenges. Managing multiple hives means more time, more resources, and more attention to detail. Each hive will have its quirks, and staying on top of them will ensure your bee empire thrives.
Take note of hive locations. Adequate space between hives prevents overcrowding and reduces the spread of disease. It’s also easier to manage foraging patterns and hive activities when they have ample space to operate.
Consider investing in better equipment as you expand. Upgrading to more durable hive boxes or effective pest control tools can make your life easier and your hives happier.
Think about future splits. A strong colony can be split again, but timing and conditions must be spot on. Plan ahead and ensure your bees are in optimal health before attempting another split.
The planning ahead is not only for splits but for everything else in the beekeeping world, too! I hope this helps, please feel free to leave any comments, questions or concerns below.
2 comments on “Splitting Your Beehive”
Kavitha
October 18, 2024 at 4:12 amThis article is a fantastic guide for anyone looking to dive into beehive splitting! I love how it breaks down the process into manageable steps, making it feel much less daunting for new beekeepers. The analogy of “social distancing for bees” is clever and really highlights the health benefits of splitting hives.
The emphasis on timing and preparation is spot on. Spring really does seem to be the sweet spot for this kind of work, and having the right tools ready makes all the difference. I also appreciate the detailed advice on what to do if you can’t find the queen, that’s definitely a common concern for many beekeepers!
I particularly like the focus on post-splitting care. It’s so important to keep an eye on both colonies afterward to ensure they’re thriving. The tips about feeding and regular inspections are practical and essential for success.
Lastly, the long-term considerations are a great reminder that beekeeping is a continuous journey. Scaling up and planning future splits requires a proactive mindset, and I’m excited to see how my own apiary can grow with these strategies!
Overall, this article provides valuable insights for both novice and experienced beekeepers. Thanks for sharing such helpful information!
Randi
October 19, 2024 at 10:40 pmThank you so much for your thoughtful comment! I’m glad you found the article helpful and that the “social distancing for bees” analogy resonated with you—it’s definitely a fun way to highlight the importance of hive health. You’re spot on about the importance of timing and preparation; having the right tools and keeping an eye on both colonies post-split really does make all the difference.