
Beekeeping is not just about honey production. It is about caring for every part of your hive. One of the often overlooked areas is your beehive frames. Over time, these frames can show signs of wear and tear. Knowing when and how to replace or maintain them can make a big difference to the health of your hive and the quality of your honey.
Whether you are a seasoned beekeeper or a curious beginner, working on your hive frames is a practical and affordable way to ensure your bees have a safe, stable home. In this guide, I will break down how to replace and maintain beehive frames in easy-to-follow steps. Each section explains essential ideas and practical tips to keep your beehive productive year after year.
Taking care of your hive frames not only supports better honey production but also contributes to the overall well-being of your bee colony. With time, your understanding of the maintenance process will grow as you learn to spot even the smallest issues that could affect your hive’s performance. This proactive approach often leads to healthier bees, improved comb structure, and a more robust honey yield. It also builds confidence in managing your apiary month after month.
Understanding the Role of Beehive Frames
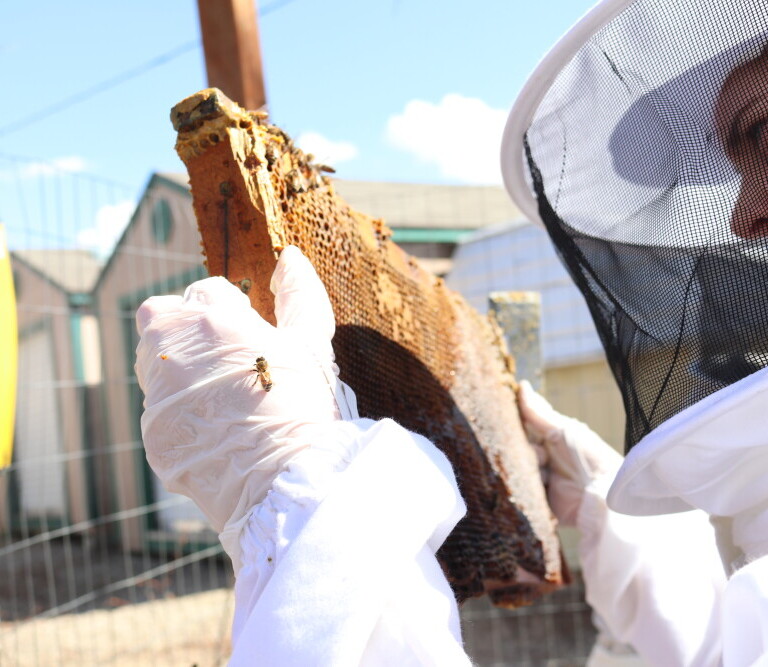
Your beehive frames support the entire structure of your hive. They provide a surface for bees to build comb, raise their young, and store nectar and pollen. Over time, frames can suffer from weather, pests, and general wear. Recognizing their role in the hive is the first step in developing an effective maintenance plan.
When you keep an eye out for signs of damage, you ensure that the colony stays healthy. Damaged or worn-out frames can disrupt the bees’ routines. They may find it harder to build new comb or store honey efficiently.
Occasionally, problems with the frames create extra challenges for the colony, causing stress that can impact brood development or trigger unexpected behavior. Regular checks and upkeep can help you nip these issues in the bud.
Understanding the structural integrity and the natural aging of your frames is very important. By knowing what to look for, you can decide whether a minor repair will suffice or a complete replacement is necessary.
This knowledge empowers you to plan your beekeeping activities more effectively throughout the year, ensuring that your bees always have a secure and well-maintained base to work from.
When to Replace Your Beehive Frames
Although some beekeepers replace frames on a set schedule, others wait until signs of damage become apparent. Both approaches have merits, and the right choice often depends on the local climate and how intensively the hive is used during the season.
Considering the factors carefully can help you make an informed decision. In regions with high humidity or extreme weather conditions, frames might deteriorate faster than in milder climates. Observing your hive over multiple seasons may provide you with a clearer picture of the wear patterns. Trusting your observations and adjusting your maintenance schedule accordingly is really important for long-term hive health.
Factors to Consider:
- Age of the frames
- Visible signs of damage such as cracks or warping
- Excessive wear from repeated use
- Pest infestations or mold growth
If you notice that frames are darkening or if the comb is irregular and hard to remove, it might be time to replace them. In some cases, it is also useful to rotate frames. Rotating helps to distribute wear evenly among all frames instead of overusing just a few. This practice makes the overall maintenance more manageable while ensuring a balanced environment for your bees.
Inspecting and Repairing Frames
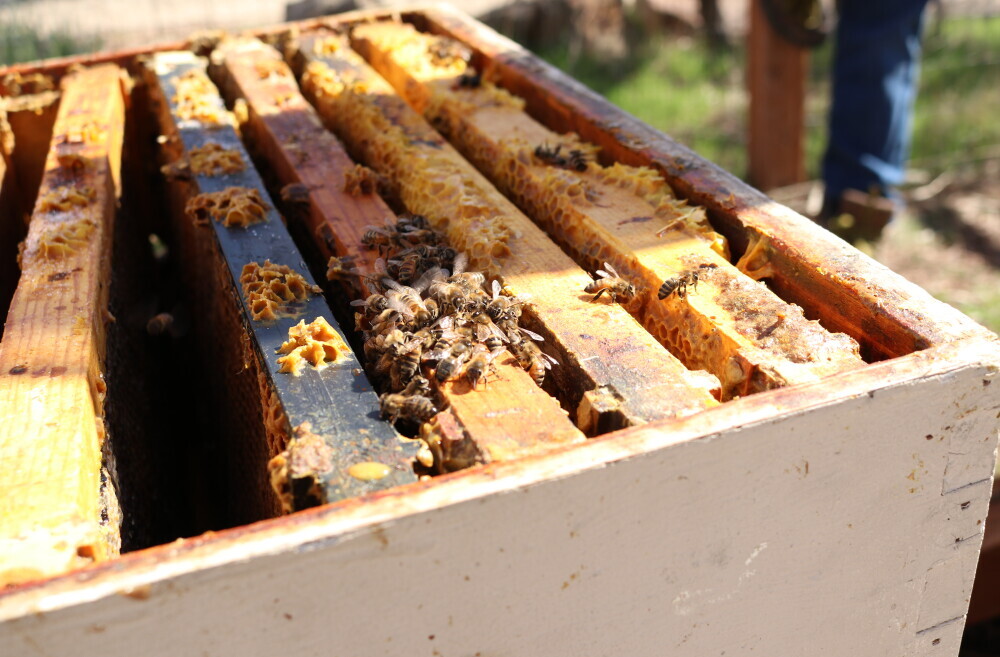
Before you take on the job of replacing frames, spend some time checking in on them to assess their condition. Firmly checking for signs of wear can help you decide what needs replacing and what might be repaired. Sometimes, simply removing a few loose pieces or giving the frames a thorough cleaning can restore them to good working order.
It is very important to examine each frame meticulously. Look for minor imperfections—small cracks, slight warping, or even unusual discolorations—that may not be immediately obvious. Even minor issues can gradually develop into bigger problems if not addressed promptly. Dedicating time to a careful inspection ensures that every part of the hive receives the attention it deserves.
Key Signs of Wear:
- Cracks or Splitting: Weather exposure or natural aging can cause the wood to crack. Any splits may serve as entry points for pests and should be addressed right away.
- Warping or Bending: Frames that no longer stand straight can lead to irregular comb construction and can obstruct the bees in their daily activities.
- Stains or Mold: The appearance of dark spots or mold is an indicator that moisture is affecting the wood. Cleaning these areas may help prevent further spread, but if the damage is extensive, replacement might be necessary.
Often, minor repairs such as a bit of sanding on rough edges or replacing small sections of wood can extend a frame’s lifespan. However, if multiple issues are present in the same frame, investing in a new one is usually more cost-effective in the long run. Additionally, integrating regular maintenance practices, such as scheduled cleanings and proper storage, can help you avoid more complicated repairs over time.
Tools and Steps for Replacing Beehive Frames
Replacing frames is a straightforward project, but having the right tools and a clear process makes it much easier. Some common tools include a hive tool, gloves, a brush for cleaning debris, and a level to ensure that the frames sit correctly.
Before starting, it is a good idea to prepare your workspace thoroughly. Clear the area around your hive, put on your protective gear, and lay out all your tools in an organized manner. This preparation not only smooths the way for a successful replacement but also minimizes the likelihood of disturbing your bees more than necessary.
Steps to Follow:
- Remove the Cover: Carefully open the hive to access the frames. Be gentle so that you do not overly disturb the bees.
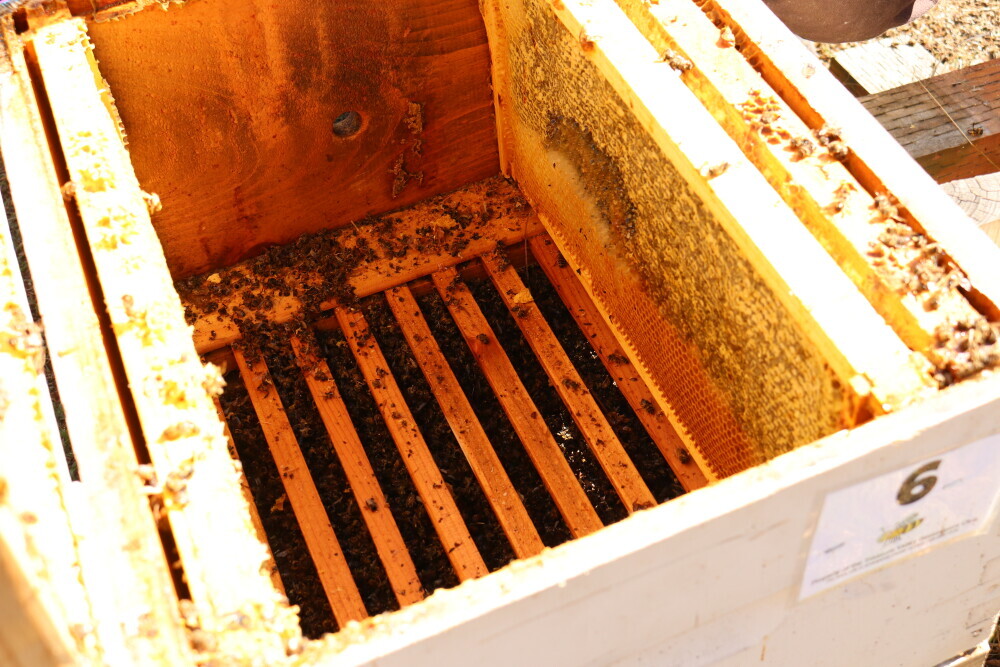
- Take Out the Old Frames: Remove the frames one at a time and take a careful look at each one for any damage. This step is crucial for understanding whether a frame can be repaired or needs replacing.
- Clean the Super: With the frames removed, clean out any debris or excess wax from the hive box. This step makes sure that the new or repaired frames have a clean environment to settle in.
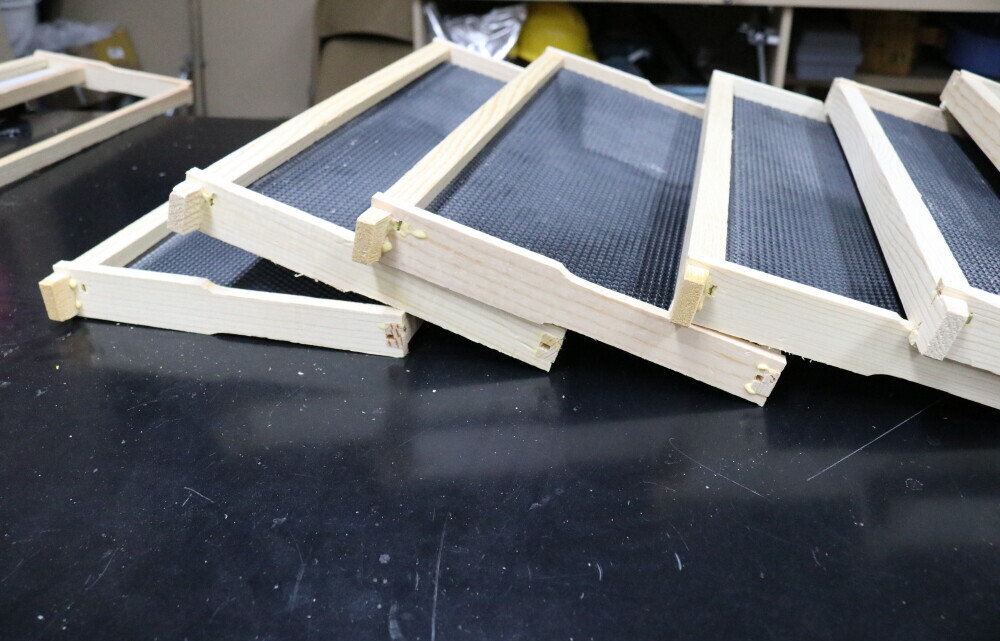
- Install New or Repaired Frames: Once everything is clean, place the new or repaired frames back into the box. Make sure that each frame is secure and properly aligned, which is very important for facilitating smooth comb building by your bees.
- Close the Hive: After confirming that the frames are stable, replace the hive’s cover. This final step reassures the colony and protects the hive from adverse weather conditions.
CHECK OUT FRAME PRICING HERE
Following these steps carefully not only ensures that you replace the frames correctly but also gives your bees a refreshed workspace. Each part of the process contributes to an environment that supports efficient comb construction and better honey production.
Maintaining Your Beehive Frames for Longevity
Even the best frames need care to maximize their lifespan. Maintaining your beehive frames is about more than just keeping them visually appealing—it plays a significant role in the overall functioning of the hive. Periodic cleaning, minor repairs, and proper storage during off-seasons are all very important strategies.
Establishing a regular maintenance schedule is key. By checking your frames frequently, you can catch small issues before they grow into major problems. A well-planned maintenance routine allows you to adjust your efforts based on seasonal changes. For example, extra care may be needed during rainy seasons, while drier periods might require just a routine check-up.
Maintenance Tips:
- Regular Inspections: Routinely check your frames, especially during periods of high bee activity. These regular inspections help in spotting any signs of wear early on.
- Cleaning the Frames: Removing excess propolis and accumulated wax is crucial. Using a soft brush and gentle scraping techniques can restore the frames to near-original condition.
- Proper Storage: When frames are taken out of the hive for repair or seasonal storage, keep them in a dry, well-ventilated area. Moisture is something you should avoid at all costs, as it can rapidly deteriorate the wood.
- Use of Natural Preservatives: Many beekeepers treat wooden frames with natural oils or beeswax to provide an extra layer of protection against moisture and pests. This method is a cost-effective way to extend the life of your frames without needing frequent replacements.
Incorporating these maintenance practices into your routine can add significant years to the life of your frames. Not only do these methods keep the hardware functioning well, but they also create a healthier working environment for your bees, helping maintain a steady production of honey.

Troubleshooting Common Issues
Every beekeeping operation encounters its challenges. Adjustments in day-to-day practices can sometimes lead to unexpected problems. You might encounter persistent cracks, frequent pest issues, or challenges with comb building. Knowing how to handle these issues promptly is really important for keeping your hive running smoothly.
One of the best strategies is to closely monitor the hive for any signs of trouble. Early detection allows you to address problems before they develop into larger issues. Maintaining detailed notes, such as in a beekeeping journal, can also help you track recurring challenges and the effectiveness of your solutions. Sharing your experiences with local beekeeping communities can provide valuable insights and support.
Frequently Encountered Problems:
- Persistent Cracks: If a frame continues to develop cracks even after a repair, it might be due to inferior wood quality or excess moisture. In these cases, replacing the frame entirely is usually the best option.
- Pest Infestations: Weakened frames can attract mites or wax moths. Using natural treatments and improved hygiene practices can help manage these infestations effectively.
- Sticking Combs: Sometimes, new wax or comb will adhere stubbornly to frames that have not been cleaned in a while. A consistent cleaning routine will help avoid this problem by ensuring that residue does not build up over time.
If you face persistent issues, it is always a good idea to seek advice from local beekeeping associations or online forums. The shared experiences of other beekeepers can offer solutions that might not be immediately obvious, providing you with a toolkit of practical ideas to keep your hive in top condition.
Final Thoughts and Next Steps
Replacing and maintaining beehive frames may seem like extra work, but these efforts play a big part in keeping your bees healthy and productive. By understanding what to look for and knowing the right tools and procedures, you help ensure that your hive continues to thrive.
Your role in tending to the hive is very important. Even small adjustments in your routine can lead to lasting improvements in honey production and the overall well-being of your bees. Taking the time to properly care for your frames builds confidence in managing future challenges and creates a lasting positive impact on your entire apiary.
Your Action Plan:
- Set a schedule for regular hive inspections and mark frames that require extra care.
- Identify and repair minor issues early to prevent them from becoming major problems over time.
- Invest in quality frames and tools that can withstand the conditions your bees face throughout the year.
- Keep a detailed beekeeping journal to document observations and learn from both successes and challenges.
Even small, thoughtful changes can spark significant improvements in the health and efficiency of your hive. Maintaining a thriving beehive is a rewarding adventure filled with opportunities to learn and grow. Remember that investing care in your frames directly contributes to the longevity and productivity of your entire colony. Take action today and watch your bees flourish.
Happy beekeeping, and here’s to many future harvests of delicious honey! Every effort you make today will lay the groundwork for a healthier, more vibrant hive tomorrow.
2 comments on “Replacing And Maintaining Beehive Frames”
Charles
March 10, 2025 at 12:27 amOkay, I have to admit—I knew bees were hardworking little geniuses, but I had NO idea their real estate needed this much upkeep! ???? I was picturing a hive as a low-maintenance, set-it-and-forget-it kind of deal, but now I see these frames are like the foundation of a tiny buzzing metropolis!
I love how you broke this down, especially the part about inspecting for cracks and warping—because, let’s be honest, I’d probably have just looked at a frame, shrugged, and thought, “Eh, close enough?” ???? Definitely saving this info for the day I finally take the plunge into beekeeping! Until then, I’ll just keep being in awe of those little architects. ????????
Great read—now I’m wondering, how often do you personally replace your frames? Is there a “sweet spot” (pun intended) between over-replacing and waiting too long?
Randi
March 10, 2025 at 4:55 pmThank you for your response! Beehives definitely need more upkeep than people expect. It’s like maintaining a tiny buzzing city! Keeping an eye on frame condition is key, but you don’t have to swap them out constantly. I usually replace frames every 3-5 years, or sooner if they get too gunky or damaged. It’s all about finding that balance! Are you seriously thinking about getting into beekeeping, or just bee-curious for now?